Getting Started#
Here’s everything you need to start your first Pegasus project.
Watch the video#
Visual learner? The above video should get you going. Else read on below for the play-by-play.
Create and download your project codebase#
If you haven’t already, you’ll need to purchase a Pegasus License on saaspegasus.com.
Then, create a new project on saaspegasus.com, following the prompts and filling in whatever configuration options you want to use for your new project. Make sure that the “license” field at the bottom is set.
Once you’re done, connect your project to Github or download your project’s source code as a zip file.
Note: it’s recommended to use the Github integration which will make future upgrades and changes to your project easier to manage.
Set up source control#
It is highly recommended to use git for source control. Install git and then follow the instructions below:
If using the Github integration#
If you created your project on Github, you can use git clone to get the code.
Get your git URL from the Github page and then run the following command, swapping in your user account and project id:
git clone https://github.com/user/project-id.git
If using the Zip file download#
If you chose to use a zip file instead, unzip it to a folder where you want to do your development and then manually initialize your repository:
git init
git add .
git commit -am "initial project creation"
It is also recommended to create a pegasus branch at this time for future upgrades.
git branch pegasus
You can read more about upgrading here.
Get up and running with Docker#
If you’ve chosen to use Docker in development (the quickest and easiest way to get up and running), continue to the Docker instructions.
Then skip ahead to the post-install steps.
Get up and running with native Python#
If you’re using Docker you can skip this section.
Enter the project directory#
cd {{ project_name }}
You should see your project files, including a manage.py file.
Set up your Python environment#
There are several ways of setting up your Python environment.
See this page for information on choosing an option and setting up your environment.
Install package requirements#
With uv:
# with uv
uv sync
# or if using pip tools
pip install -r dev-requirements.txt
Note: if you have issues installing psycopg2, try installing the dependencies outlined in
this thread
(specifically python3-dev and libpq-dev).
On Macs you may also need to follow the instructions from this thread. And specifically, run:
brew reinstall openssl
export LIBRARY_PATH=$LIBRARY_PATH:/usr/local/opt/openssl/lib/
Create your .env file#
If you installed with Github, you’ll have to create your .env file for your environment variables and secrets.
You can do this from the example, by running:
cp .env.example .env
Set up database (Postgres only)#
If you installed with Postgres, edit the DATABASE_URL value in .env with
the appropriate username and password for connecting to your DB.
You will also need to create a database for your project if you haven’t already.
Assuming that your postgres admin user is named postgres, and you’re using identity authentication you should run:
sudo -u postgres createdb {{ project_name }}
Or for standard authentication:
createdb -U postgres -h localhost -p 5432 {{ project_name }}
Followed by the password for the postgres user.
Create database migrations#
# with uv
uv run manage.py makemigrations
# or with normal venv
python ./manage.py makemigrations
Run database migrations#
# with uv
uv run manage.py migrate
# or with normal venv
python ./manage.py migrate
Run server#
# with uv
uv run manage.py runserver
# or with normal venv
python ./manage.py runserver
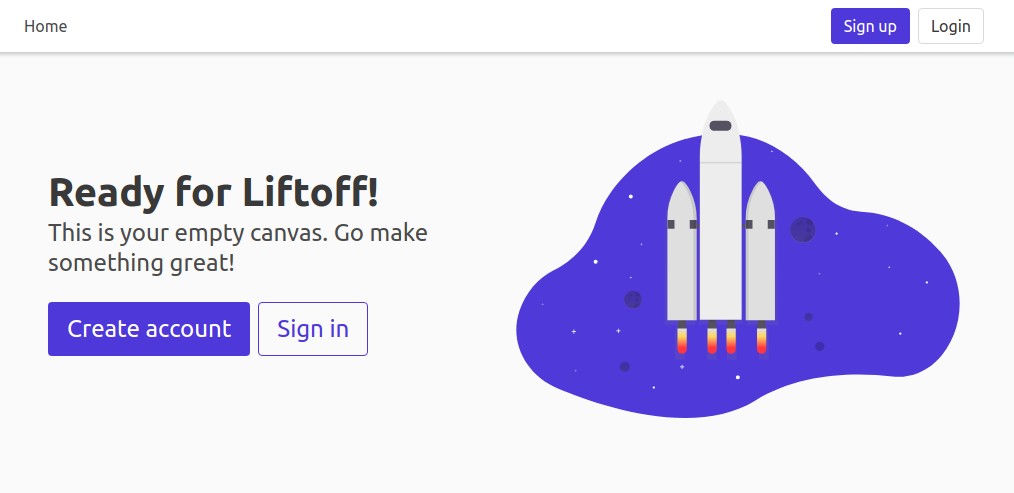
Go to http://localhost:8000 and you should see the default Pegasus landing page.

Run / build the front end#
If you’re using Vite, or you didn’t include static files with your build, you will also need to set up your front end.
The basic steps are:
Install node/npm.
Run
npm installRun
npm run dev
For more details, see the front end docs.
Post-installation steps#
Once up and running, you’ll want to review these common next-steps.
Create a User#
To create your first user account, just go through the sign up flow in your web browser.
From there you should be able to access all built-in functionality and examples.
Enable admin access#
Use the promote_user_to_superuser management command
to enable access to the Django Admin site.
Confirm your site URL#
For Stripe callbacks, email links, and JavaScript API clients to work, you must make sure that you have configured absolute URLs correctly.
Set up your Stripe Subscriptions#
If you’ve installed with subscriptions, you’ll want to set things up next.
Head to the subscriptions documentation and follow the steps there!
Set up Background Tasks#
For the progress bar example to work—and to run background tasks of your own—you’ll need a Celery environment running.
Head to celery and follow the steps there!
Building Your Application#
At this point, Pegasus has installed scaffolding for all of the user management, authentication, and (optionally) team views and Stripe subscriptions, and given you a beautiful base UI template and clear code structure to work from.
Now that you’re up and running it’s time for the fun part: building your new application!
This can obviously be done however you like. Some examples of things you might want to do next include:
Customize your landing page and set up a pricing page
Start modifying the list of navigation tabs and logged-in user experience
Create a new django app and begin building out your data models in
models.py. It’s recommended to use the Pegasus CLI for this.
For some initial pointers on where to to make Pegasus your own, head on over to the Customizations Page.
For the nitty-gritty details on setting up things like email, error logging, sign up flow, analytics, and more go to Settings and Configuration.